
Hi there! The Britt Girls informed me this past week that they used to really love the “Tips from Britt” articles I used to write for the ScrapMatters’ newsletter back in the day. So I decided that I’d start writing them again on the blog!! Once a month (or maybe more) I’ll post a Tip from Britt!
Today’s tip is about RECOLORING. I wrote about recoloring in January of 2009, but I’ve learned a lot since then, so while I repeat a little of what I wrote back then, I’ll also give you a couple new tips!
I don’t know about you guys, but money always seems to be a little tight! And, not that I want to discourage you from shopping at Britt-ish Designs (hahah!) BUT I do want to show you how your digital products can go a long way, making your dollar stretch! Because face it, times our tough these days and we are all being a little more careful. Aren’t we?
Recoloring is one of my very favorite things about digital scrapbooking. You can make your favorite papers and elements match in a snap! There are MANY ways to recolor, but I’m just going to share one quick tip so you can use your papers & elements again and again.
(My tips are all related to Photoshop CS3 since that’s the program I use. But I know you can do similar things in Photoshop Elements and other programs too!)
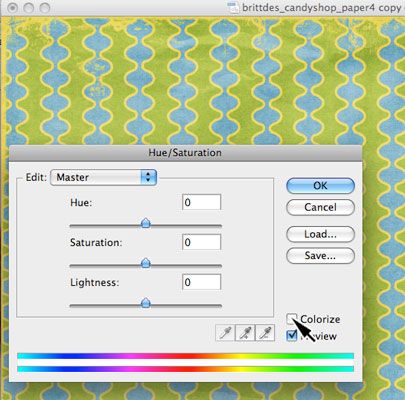
“Colorizing”. Say I have a patterned paper. I LOVE the pattern, but the color simply will not work for the page I’m creating. Most of you know to try recoloring by playing with the hue & saturation sliders. But sometimes, if your patterned paper has a lot of colors, that just doesn’t make it match! Here’s one solution – I select the color I’m trying to match (using the eyedropper tool – ctrl + I – makes it super easy to match exact colors in my photo) as my “foreground” color or what you might call your “brush color”.

Then I go to the paper I want to recolor and make a duplicate of the paper (we don’t want to edit the original paper and accidentally save over it or anything!!). So go to Image > Duplicate Image. Then close the original. With the copy paper open, select, Image > Adjustments > Hue & Saturation. Then on the little window that opens check the “colorize” box.
After “colorizing”:
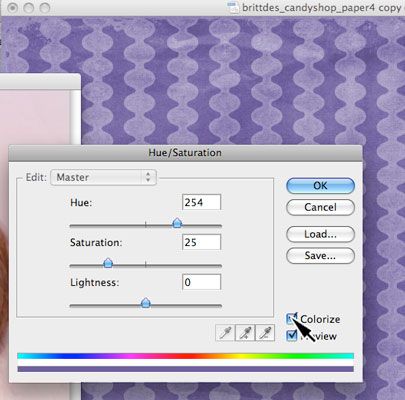
Your paper will recolor itself all in shades of the color you picked. Its not always perfect, I almost always have to turn up the saturation, so play with the settings to get it looking right. And ta-da! You have a new paper that matches your new layout!!
To make the color match even better on this page after I colorized, I turned the saturation up, darkened it a bit, and turned the brightness down (Image > Adjustments > Brightness & Contrast).
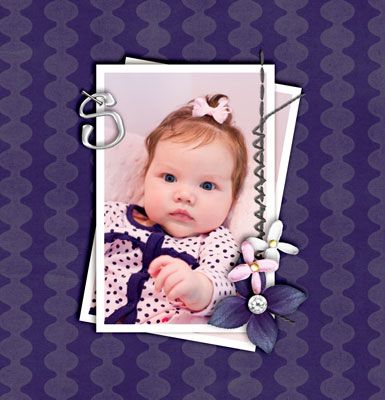
Colorizing works great for ribbons, flowers, alphas all kinds of embellishments!
Hope this tip helped!

What a cool tip! I didn't know about it, now I must try! Thanks for sharing!
Oohh, I'm gonna really look forward to monthly tips from you. Thanks a ton!
Oh wow… thank you so much for sharing that… I always wondered if there was an easier/faster way!!
Thanks for the tip…I've always seen that button and looked right past it, not realizing how much easier that is than just fiddling with hue/saturation!
I loved your tips from Britt so I'm so glad you are doing this on your blog now 🙂
Thanks for the tip- I've used the colorize box, but didn't know where it was getting the color from. I alway got random and odd results. Now I know to set my foreground color to get better results! Thanks!
Hi Brittney, Nice blog! How to add the Glitter Effect Mouse Pointer to your Blog
WOW! Thanks so much for the tip. I had no idea you could do that! I can't wait to read your next one.